If you’re diving into the world of woodburning, also known as pyrography, you’re in for a treat! There’s a ton of creative techniques out there that can really amp up your wood art projects. Let’s check out some exciting methods you can easily try out.
First up is shading. Using different temperature settings on your wood burner lets you create a beautiful gradient effect. Start with a lighter touch and gradually build up the intensity. Practice makes perfect, and soon you’ll have smooth transitions that give your pieces a polished look. It’s a game changer for adding depth to your designs!
If you’re into patterns, try the stippling technique. This involves making a series of small dots or repeated lines to create texture. It’s super fun to experiment with! You can fill in areas of your design or add intricate details that bring your art to life. Plus, it’s a relaxing way to spend some time with your wood projects.
Another cool option is using a stencil. This is great if you want to reproduce a specific design or create precise shapes. Just pick your favorite stencil, secure it to the wood, and go to town with your burner. It’s a quick way to make standout pieces without the stress of freehanding everything.
Lastly, consider combining colors with woodburning. After burning your design, you can enhance it with wood stains or paints. This adds an extra pop and personal touch to your work. Mixing natural wood tones with vibrant colors creates stunning contrasts that grab attention. Dive in and let your creativity flow!
Inspiring Woodburning Project Ideas
Woodburning offers a fantastic way to express your creativity! If you're looking for project ideas to get started or to spark your imagination, you’re in the right place. Here are some inspiring concepts that can take your woodburning to the next level.
1. Personalized Cutting Boards: A cutting board can go from basic to one-of-a-kind with just a few burn marks. You can add your family name or a cute saying. These make perfect gifts for newlyweds or as housewarming presents.
2. Nature Scenes: Capture the great outdoors by burning images of landscapes, mountains, or forests onto wooden panels. This is ideal if you love hiking or camping. It adds a peaceful vibe to any room!
3. Animal Portraits: Showcase your favorite creatures! Whether it’s a pet, wildlife, or even mythical animals, woodburning can create stunning, lifelike representations. This is a fun way to display your love for your furry friends.
4. Decorative Frames: Take a plain photo frame and turn it into a masterpiece. You can add intricate designs, quotes, or even family photos inside. This makes for a great personalized touch in your living space.
5. Seasonal Decor: Create pieces that celebrate the seasons. Think pumpkins for fall, snowflakes for winter, flowers for spring, and beach scenes for summer. These pieces can easily be switched out to keep your home feeling fresh and festive.
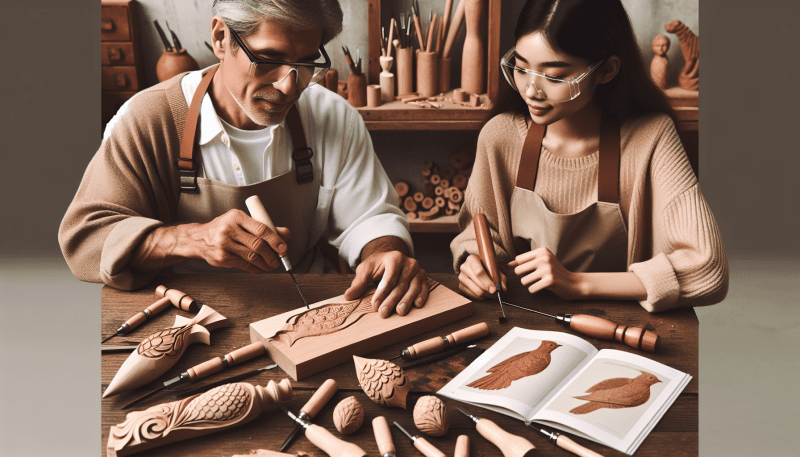
Essential Tools for Woodburning Art
Getting into woodburning art is super exciting, but you’ll need some essential tools to make your masterpieces come to life. Let’s dive into what you really need to get started on your woodburning journey.
First up is the woodburning tool itself. You can find basic pens or more advanced models with adjustable temperatures and interchangeable tips. If you’re just starting, a simple pen will do just fine. It’s all about what feels comfortable in your hand. Make sure to look for one that heats up quickly and has a variety of tips for different textures and details.
Next, don’t forget about the wood! Look for smooth, light-colored woods like basswood or birch. They’re perfect for burning because they take the heat nicely and show off your designs beautifully. Make sure to get pieces that are at least ¼ inch thick to prevent burning all the way through.
And let’s not skip on safety gear! A pair of safety goggles is a must to protect your eyes from any smoky surprises. An apron can keep you clean, and think about getting a mask to filter out any dust or fumes. Keeping safe means you can focus on having fun while you create!
Lastly, consider having some practice boards handy. Before you dive into your final piece, play around on scrap wood. This helps you get a feel for your tool and the effects you can create. It’s the best way to build your confidence and work out any kinks.
Tips for Perfecting Your Woodburning Skills
Getting into woodburning can be super exciting, but let’s be real—it takes practice to really nail it. Here are some tips to help you get your skills just right.
Start with the basics. Choose a low-temperature setting on your woodburning tool to get a feel for it. This helps prevent mistakes and allows you to gradually build your confidence. Once you feel comfortable, you can switch things up with higher temperatures for darker lines.
Try out different tips! Most tools come with a set of interchangeable tips, and each serves a different purpose. Use a fine point for detailed work and a broader tip for shading or filling in larger areas. Experiment and see which ones you like best.
Practice makes perfect, so don’t skip it! Grab some scrap wood and doodle. You don't have to create a masterpiece every time. Just letting yourself play with the tool can help you find your style and get used to the pressure and speed you need.
Lastly, keep your workspace organized. Having a clean area helps you focus on your art without distractions. Plus, it makes it easier to find your tools, wood pieces, and supplies when you need them. Happy burning!